How I Create Animated Titles
My process, tools, and exact prompts
Hey everyone! I wanted to share a detailed guide on how I create my eye-catching animated titles, including the exact prompts I use :)
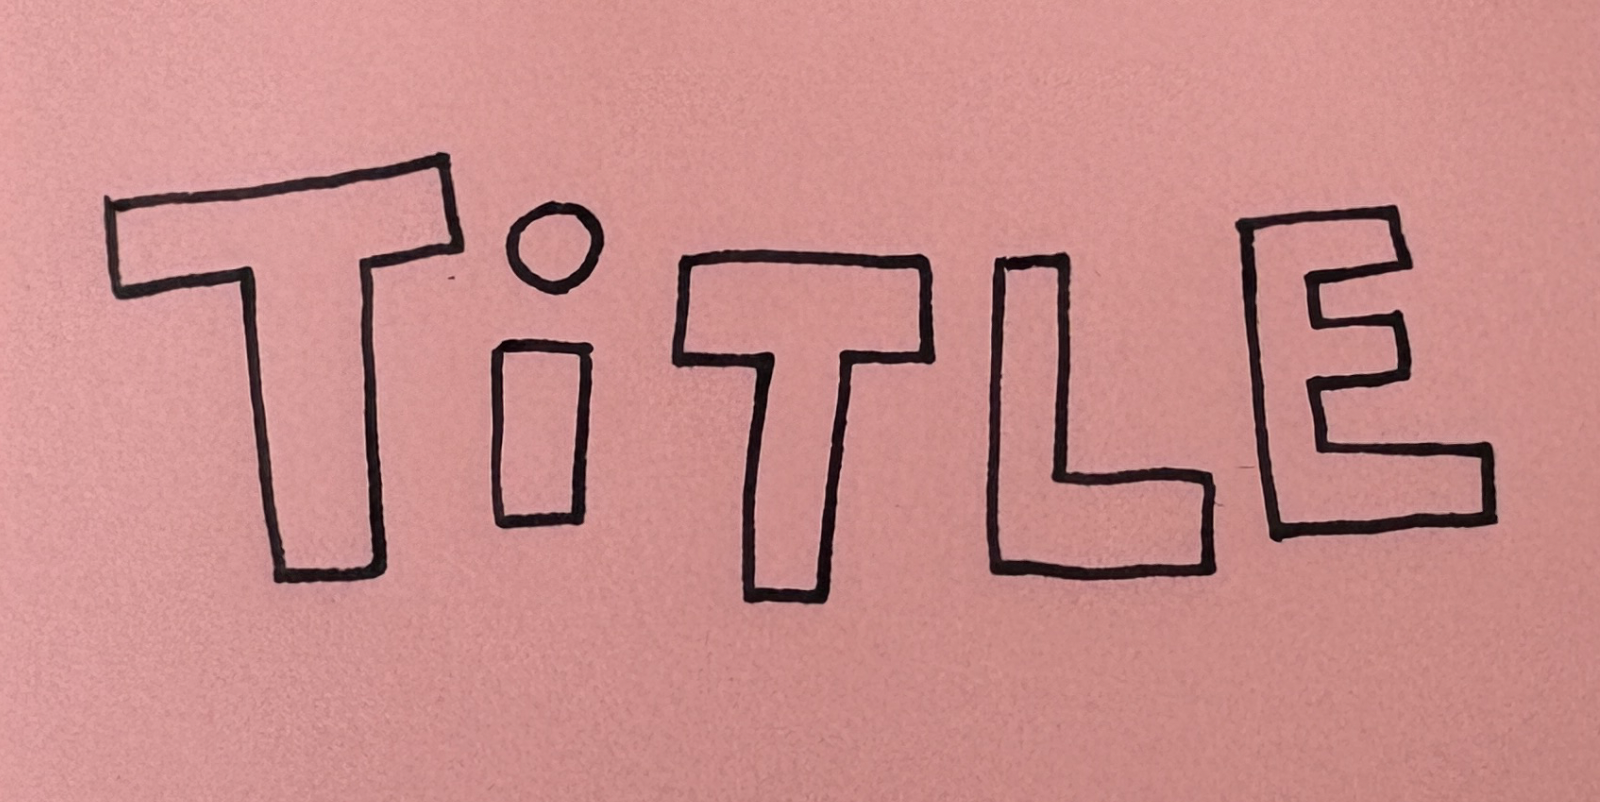
Step 1: Create Your Starting Frame
This image will be a reference to create all the other frames. Feel free to handdraw it, create it with design software, or type it out and take a screenshot.
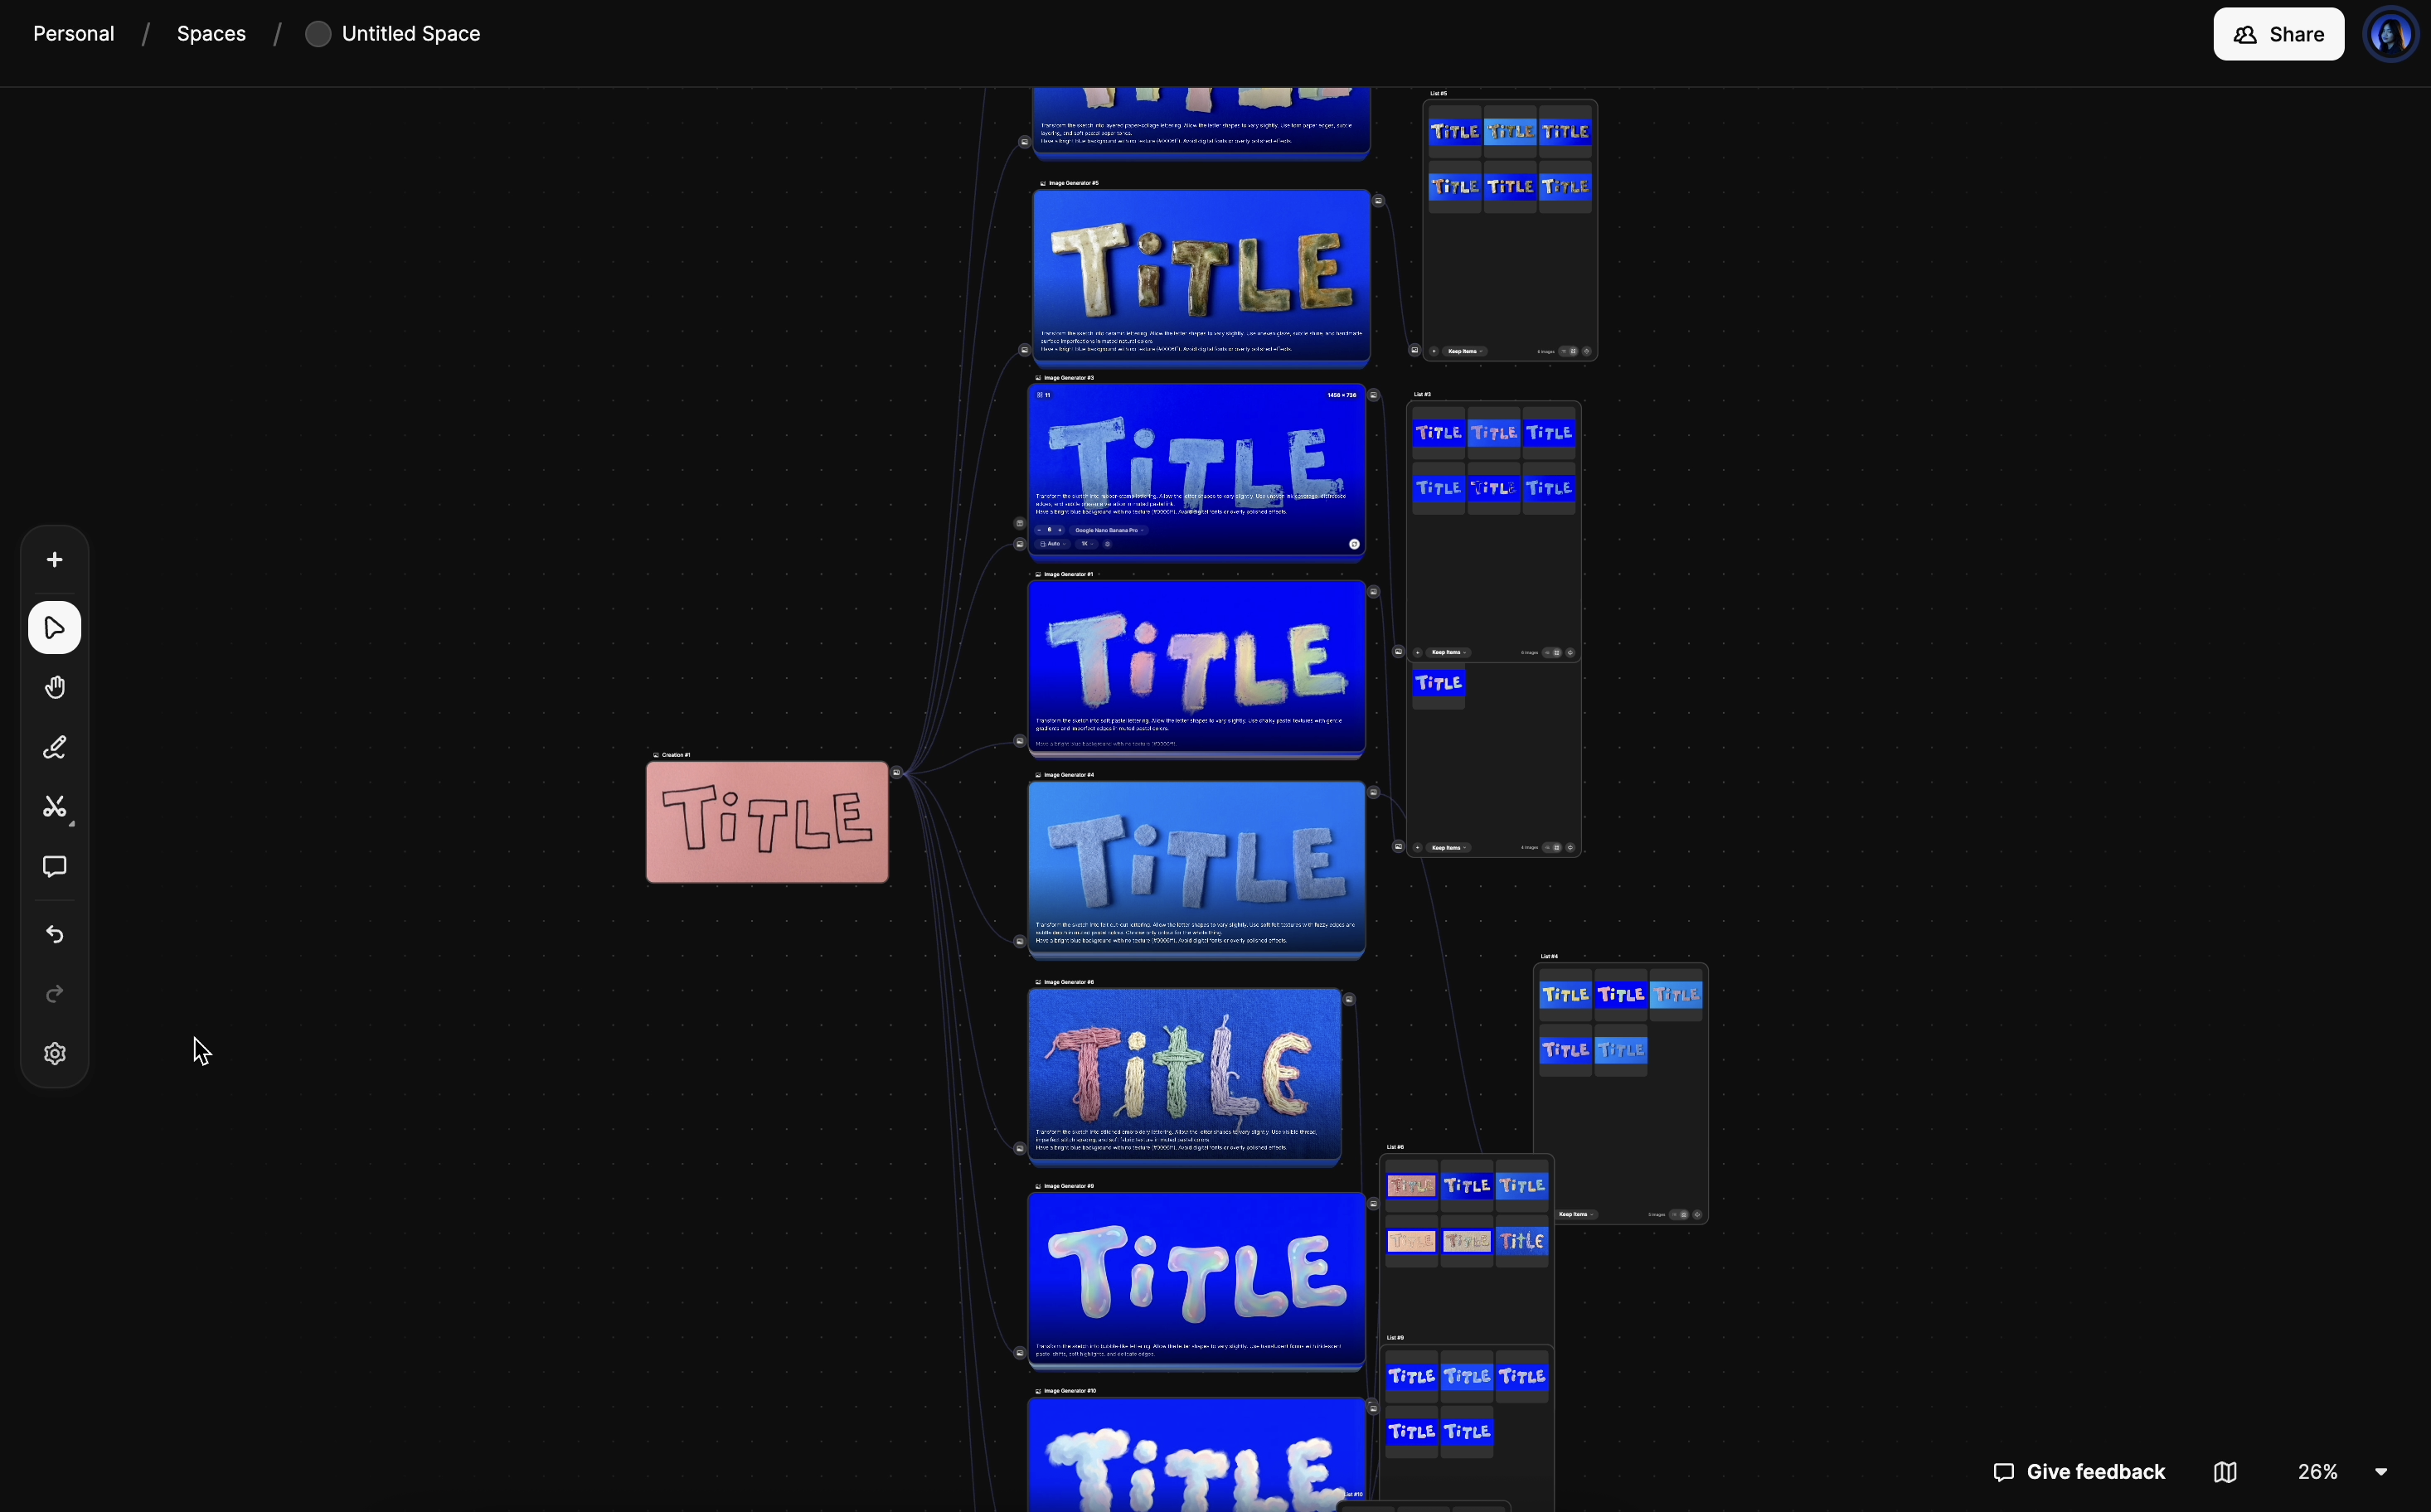
Step 2: Generate the Magic Frames
I use Freepik Spaces which allows me to build a visual workflow. In the video, I used the nanobanana model, which is excellent for transforming existing images.
Upload your image as the first "node", then add an image generator node connected to it. Copy and paste the prompts from the library below to generate your new frames. And don't be afraid to experiment!
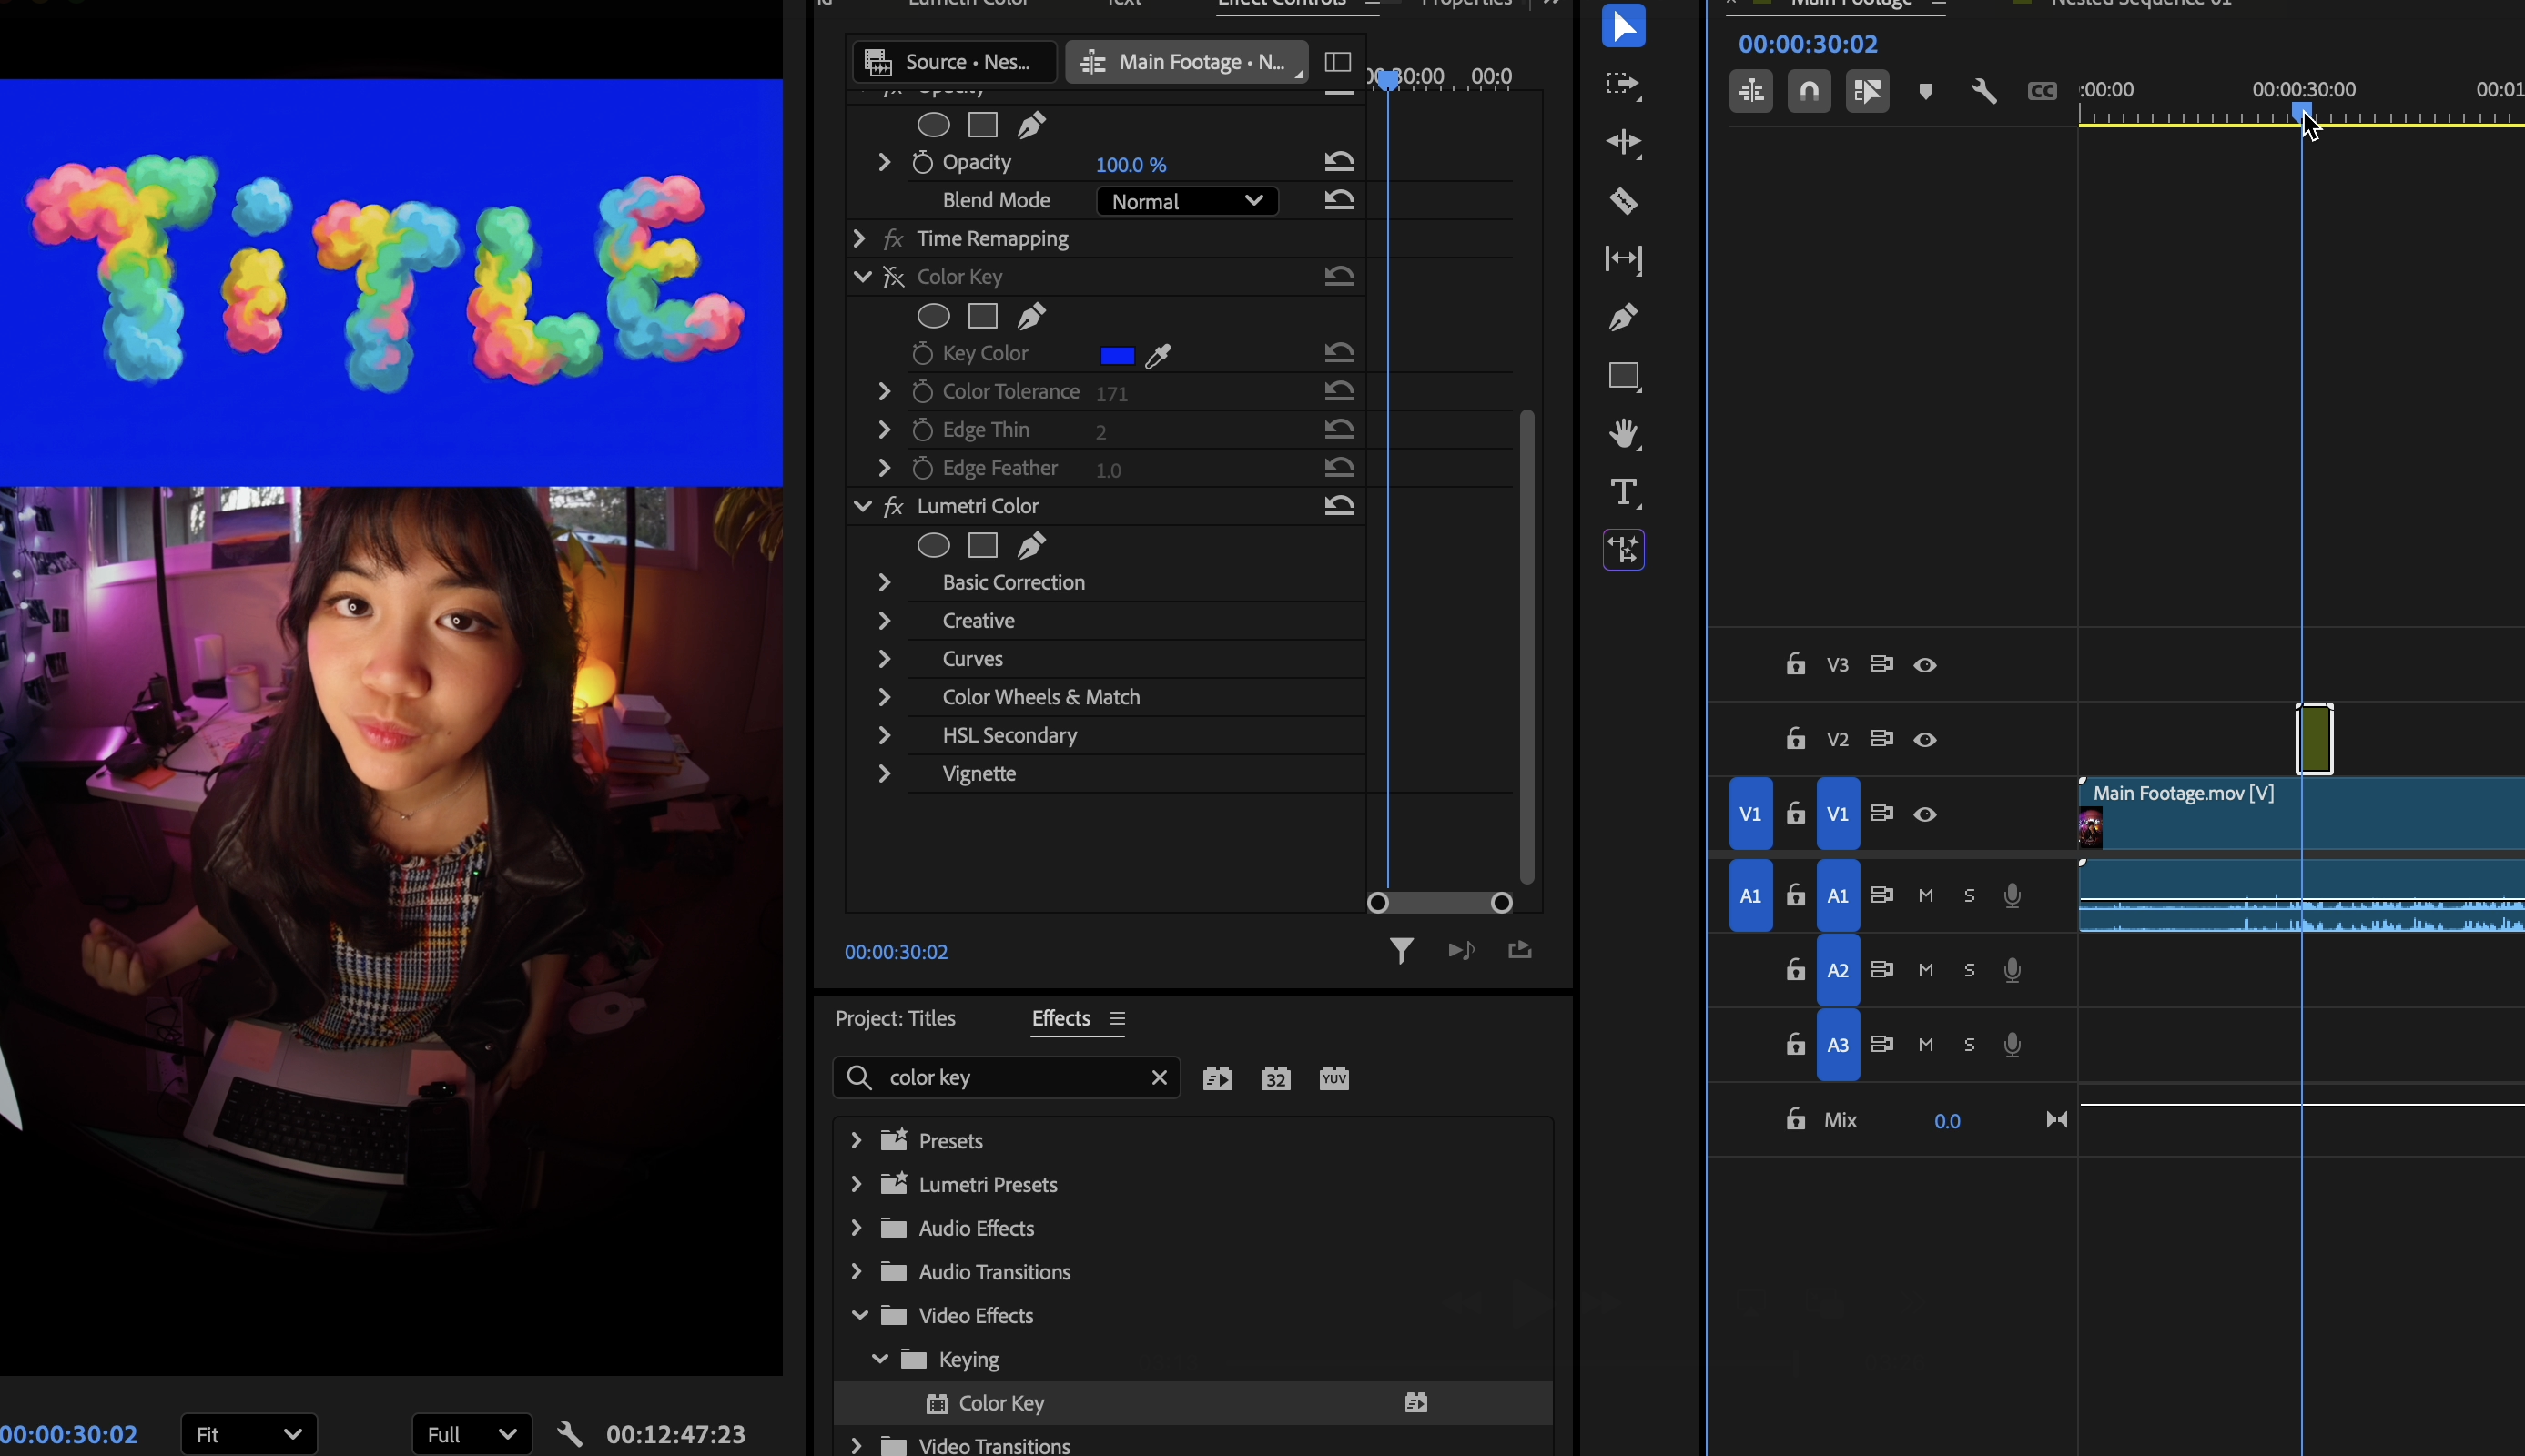
Step 3: Animate Your Title
Once you have a collection of frames you love, it's time to bring them to life.
Bring all your generated images into a video editing application (like CapCut, Adobe Premiere Pro, or Final Cut Pro). Place the images one after another on your timeline — I make each image 5 frames.
Finally, use the chroma key or "remove background" feature to remove the bright blue or green background. In Premiere, this is called "Color Key".
My Prompts
Here are the exact prompts I used. Click Copy to grab any one!
Gel Pen Lettering
Transform the sketch into gel-pen lettering. Allow the letter shapes to vary slightly. Use saturated pastel ink with subtle bleed, shine, and pressure variation. Have a bright blue background with no texture (#0006ff). Avoid digital fonts or overly polished effects.
Layered Paper-Collage
Transform the sketch into layered paper-collage lettering. Allow the letter shapes to vary slightly. Use torn paper edges, subtle layering, and soft pastel paper tones. Have a bright blue background with no texture (#0006ff). Avoid digital fonts or overly polished effects.
Ceramic Lettering
Transform the sketch into ceramic lettering. Allow the letter shapes to vary slightly. Use uneven glaze, subtle shine, and handmade surface imperfections in muted natural colors. Have a bright blue background with no texture (#0006ff). Avoid digital fonts or overly polished effects.
Rubber-Stamp Lettering
Transform the sketch into rubber-stamp lettering. Allow the letter shapes to vary slightly. Use uneven ink coverage, distressed edges, and subtle pressure variation in muted pastel ink. Have a bright blue background with no texture (#0006ff). Avoid digital fonts or overly polished effects.
Felt Cut-Out Lettering
Transform the sketch into felt cut-out lettering. Allow the letter shapes to vary slightly. Use soft felt textures with fuzzy edges and subtle depth in muted pastel colors. Choose only one colour for the whole thing. Have a bright blue background with no texture (#0006ff). Avoid digital fonts or overly polished effects.
Stitched Embroidery
Transform the sketch into stitched embroidery lettering. Allow the letter shapes to vary slightly. Use visible thread, imperfect stitch spacing, and soft fabric texture in muted pastel colors. Have a bright blue background with no texture (#0006ff). Avoid digital fonts or overly polished effects.
Bubble-Like Lettering
Transform the sketch into bubble-like lettering. Allow the letter shapes to vary slightly. Use translucent forms with iridescent pastel shifts, soft highlights, and delicate edges. Have a bright blue background with no texture (#0006ff). Avoid digital fonts or overly polished effects.
Cloud-Like Lettering
Transform the sketch into cloud-like lettering. Allow the letter shapes to vary slightly. Use soft, airy puffs with gentle shading and pastel tones, keeping forms light and whimsical. Have a bright blue background with no texture (#0006ff). Avoid digital fonts or overly polished effects.
Particle-Swarm Lettering
Transform the sketch into particle-swarm lettering. Allow the letter shapes to vary slightly. Use softly glowing pastel particles loosely orbiting into letter shapes, slightly unstable and alive. Have a bright blue background with no texture (#0006ff). Avoid digital fonts or overly polished effects.